Stripe Manual (your own keys)
Stripe Manual is available on the Pro plan and gives you full control of your Stripe account. To set it up you give Pay2Book two things from Stripe: a restricted API key (so Pay2Book can create checkouts and refunds on your account) and a webhook signing secret (so Stripe can tell Pay2Book the moment a payment succeeds).
You do all of this in Settings → Stripe in your Pay2Book console.
1. Create a restricted API key
Section titled “1. Create a restricted API key”A restricted key gives Pay2Book only the permissions it needs - nothing more.
-
Open your Stripe API keys page: dashboard.stripe.com/apikeys.
-
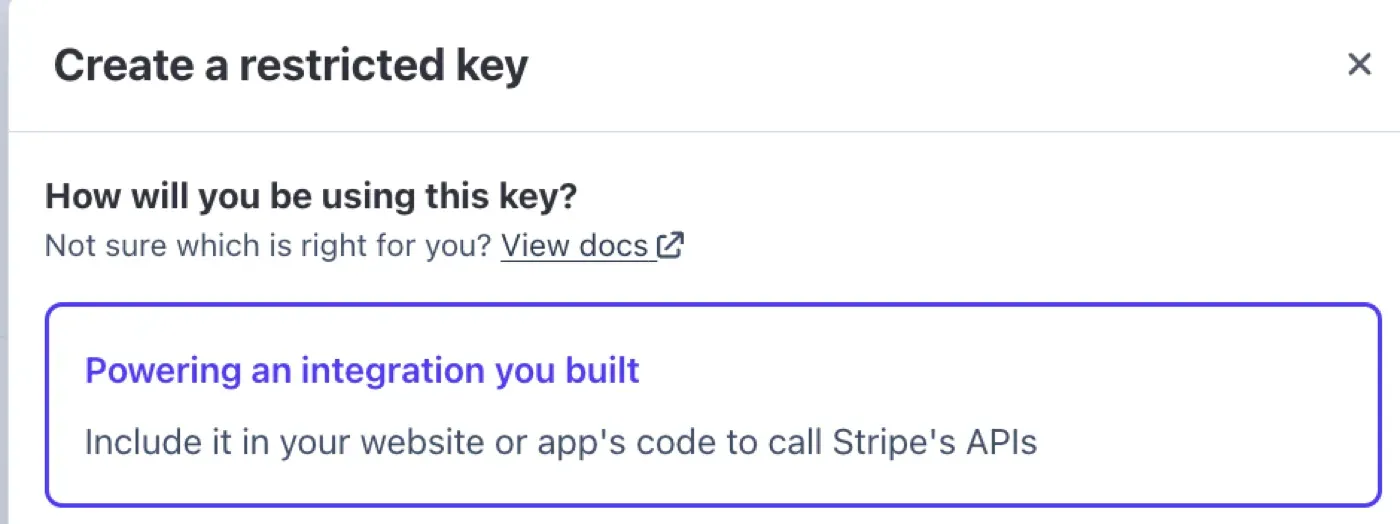
Select Create restricted key. When asked how you will use the key, choose Powering an integration you built. The other options work too, but they start the key with more permissions than Pay2Book needs, so this one keeps it as secure as possible.
-
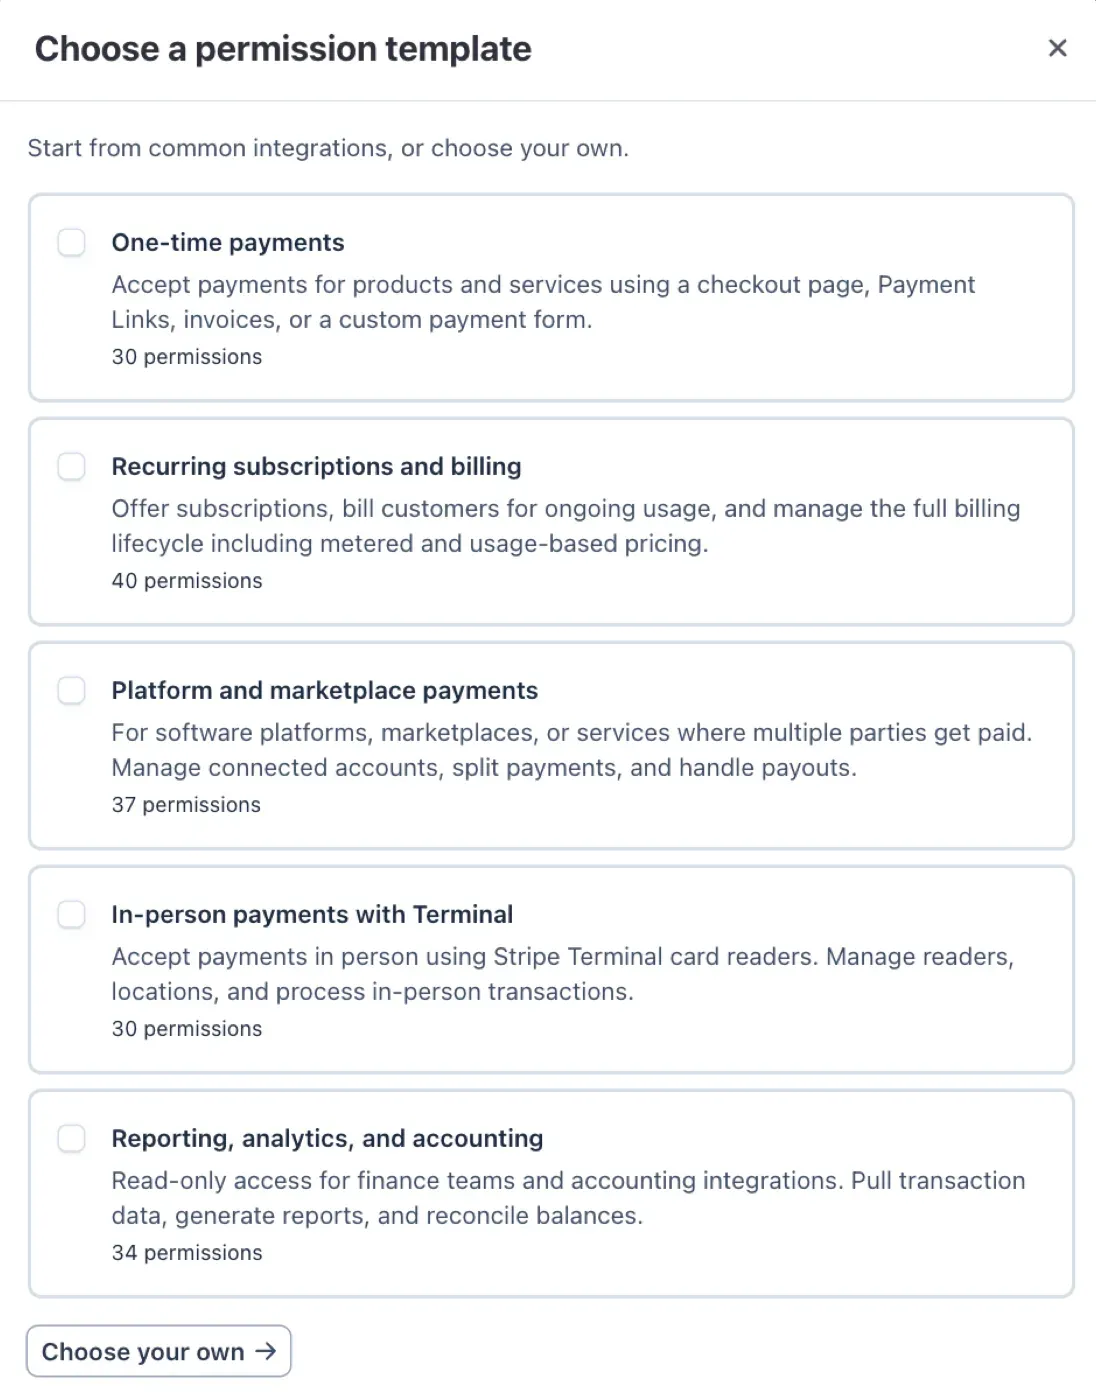
On Choose a permission template, ignore the ready-made templates (they each turn on far more than you need) and select Choose your own at the bottom. This starts the key with no permissions, so you only turn on the five below.
-
Give the key a name (for example,
Pay2Book) and set exactly these permissions:Section Resource Permission Core Balance Read Core Payment Intents Write Core Charges and Refunds Write Checkout Sessions Checkout Sessions Write Webhook Endpoints Webhook Endpoints Read Connect Accounts Read The Section is the grey group heading in Stripe’s permissions list - scroll to that heading, then find the resource row under it. Leave every other permission as None. Stripe groups refunds under Charges and Refunds, so there is no separate “Refunds” line to set.
The last one, Connect > Accounts > Read, lets Pay2Book read the currencies your Stripe account supports, so you can price services in any of them. Without it you can still take payments, but only in your account’s settlement currency.
-
Create the key and copy it (it starts with
rk_). -
In Pay2Book, go to Settings → Stripe and paste the key into Secret key. Save it, then select Verify Key to confirm it works and has every permission it needs.
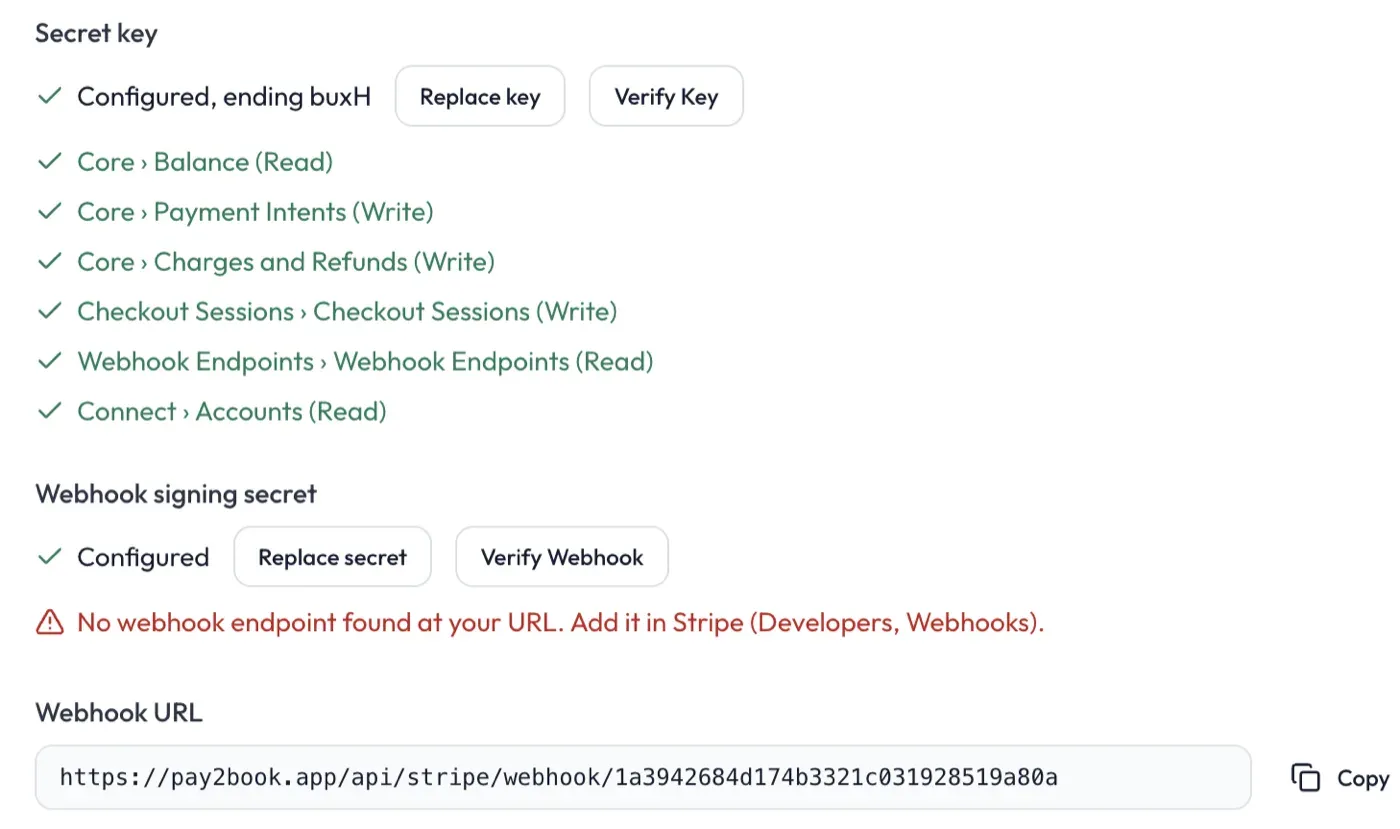
The result shows one line per permission. Fix anything it flags - in the example above, the key and all its permissions are fine but the webhook still needs adding (next section). A test-mode key is called out in red: it takes no real money and your booking page shows a test notice, so switch to a live key before you go live.
2. Add the webhook
Section titled “2. Add the webhook”The webhook is how Stripe tells Pay2Book that a payment has succeeded.
-
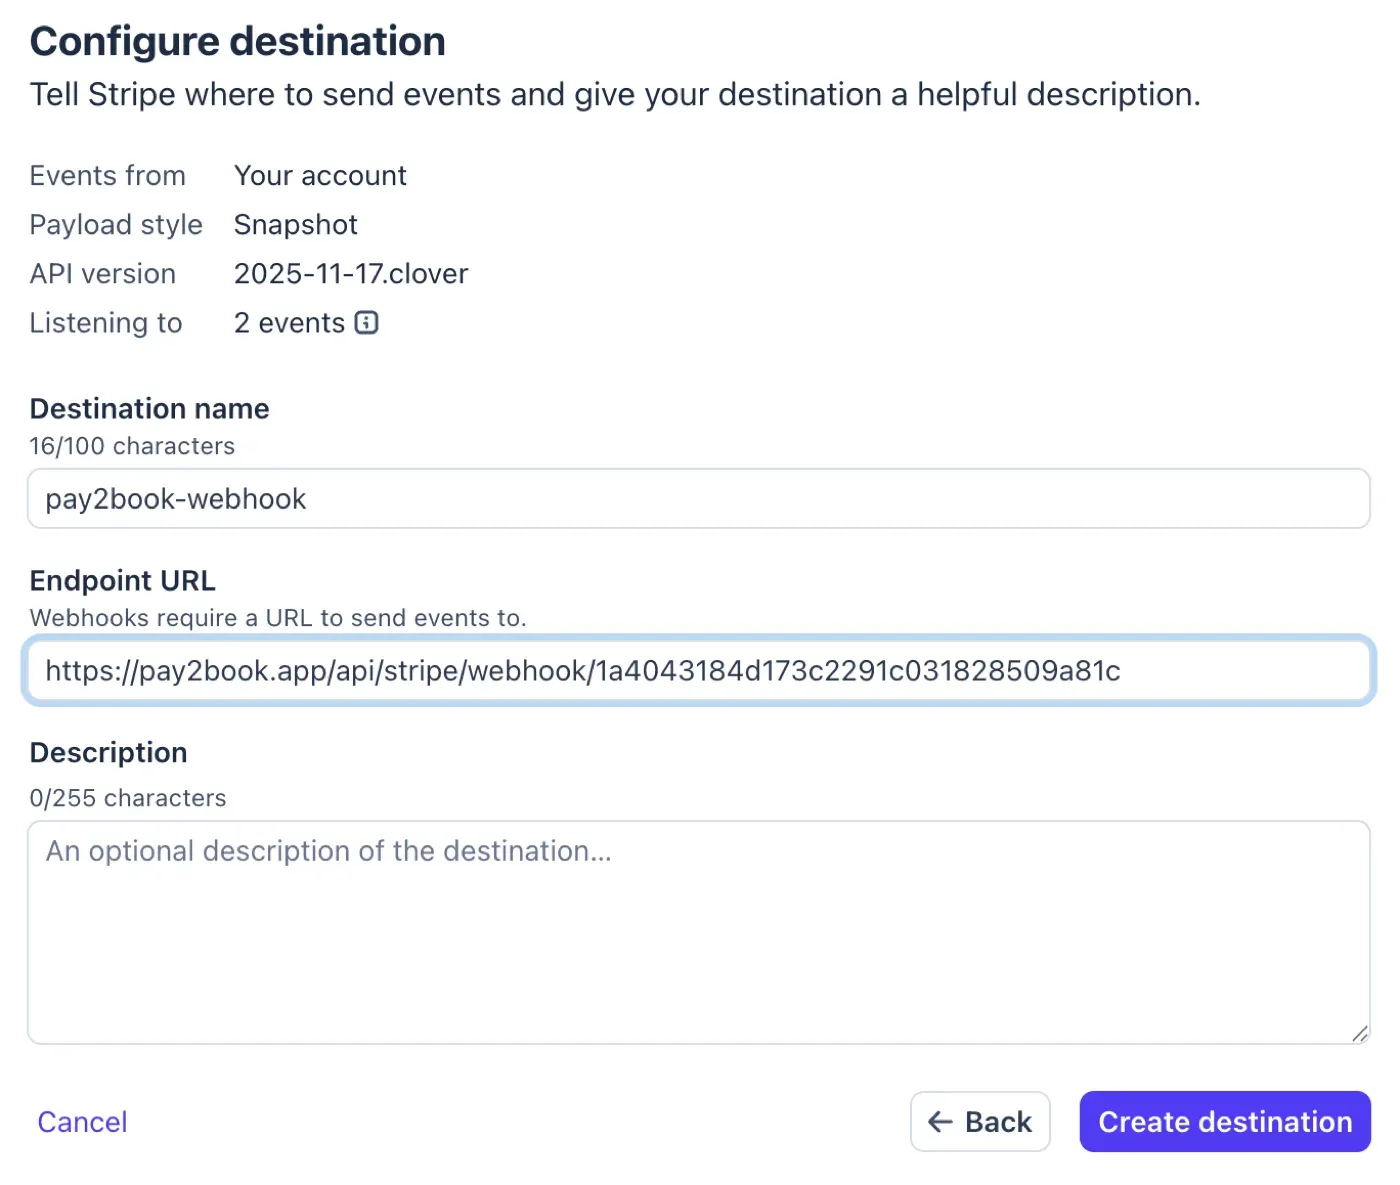
In Pay2Book’s Settings → Stripe, copy your Webhook URL (it is unique to your account).
-
In Stripe, open Workbench → Webhooks → Add destination, or go straight to dashboard.stripe.com/workbench/webhooks/create.
-
For the event destination scope, choose Your account.
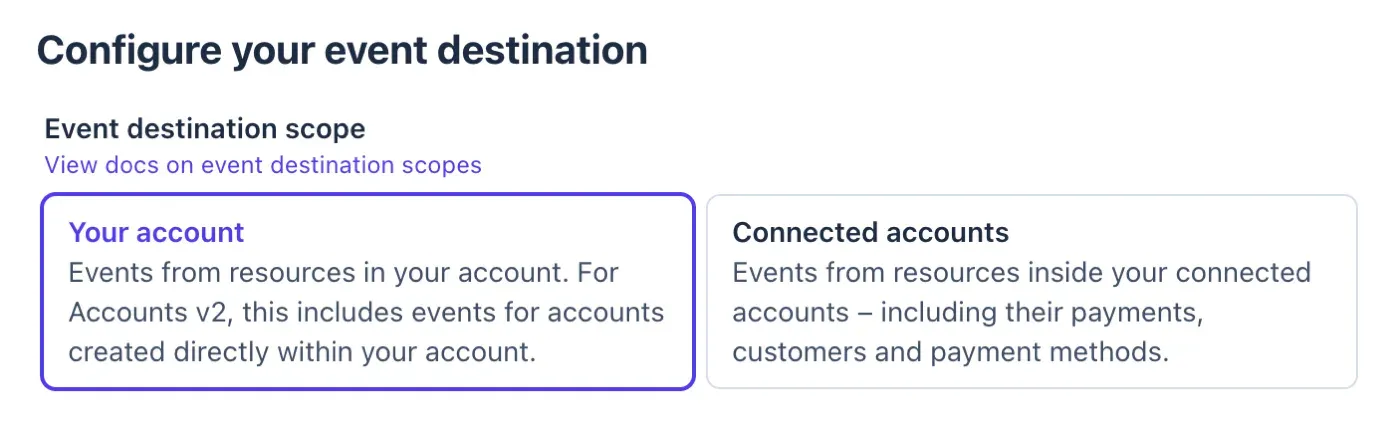
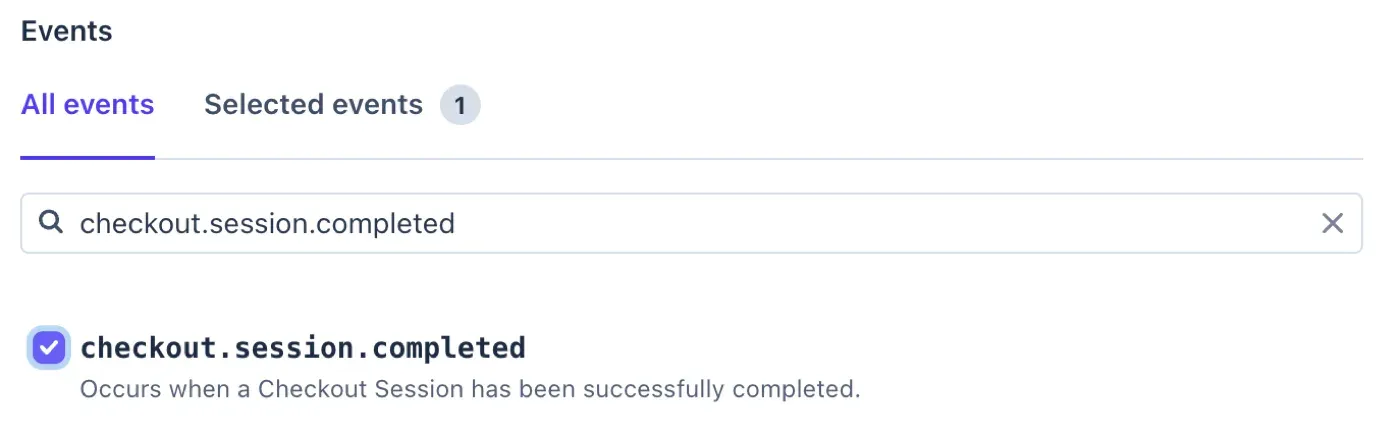
Then choose All events, search for and tick all five of these, then Continue:
checkout.session.completedpayment_intent.createdcharge.refundedcharge.dispute.createdcharge.dispute.closed
The first two confirm bookings and let Pay2Book test the webhook. The three
charge.*events keep Pay2Book in step when money moves outside a booking - a refund you issue in the Stripe dashboard, or a chargeback a customer raises - so your Bookings and Payments always match Stripe. If you subscribed to All events you already have them.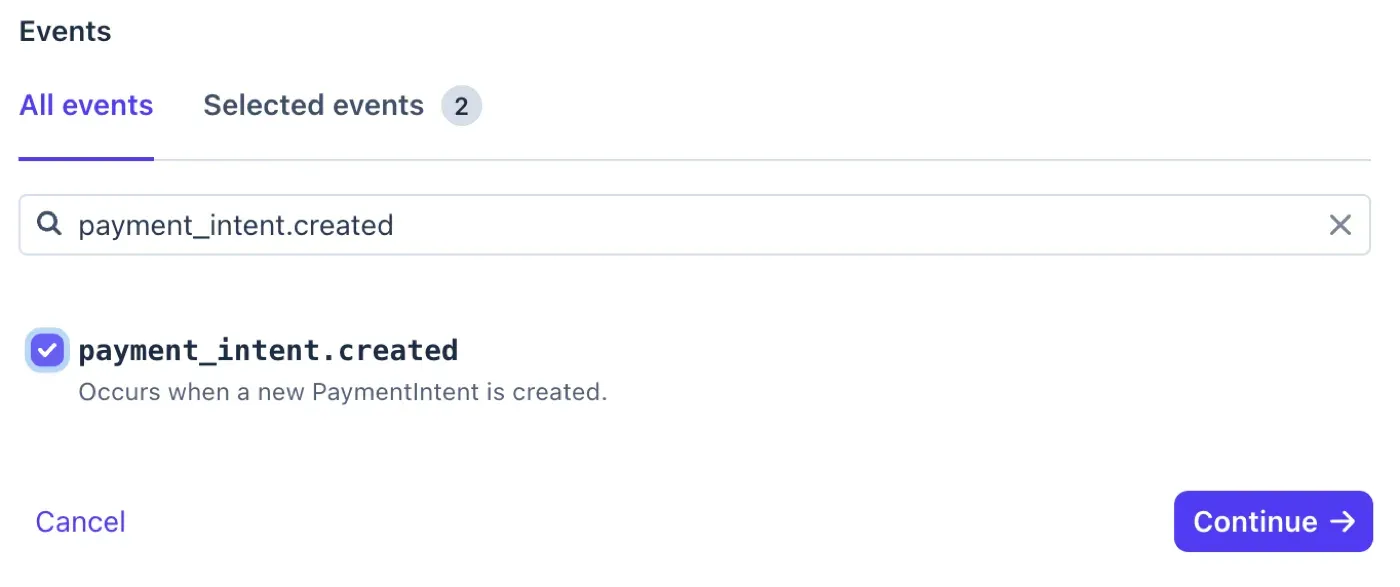
-
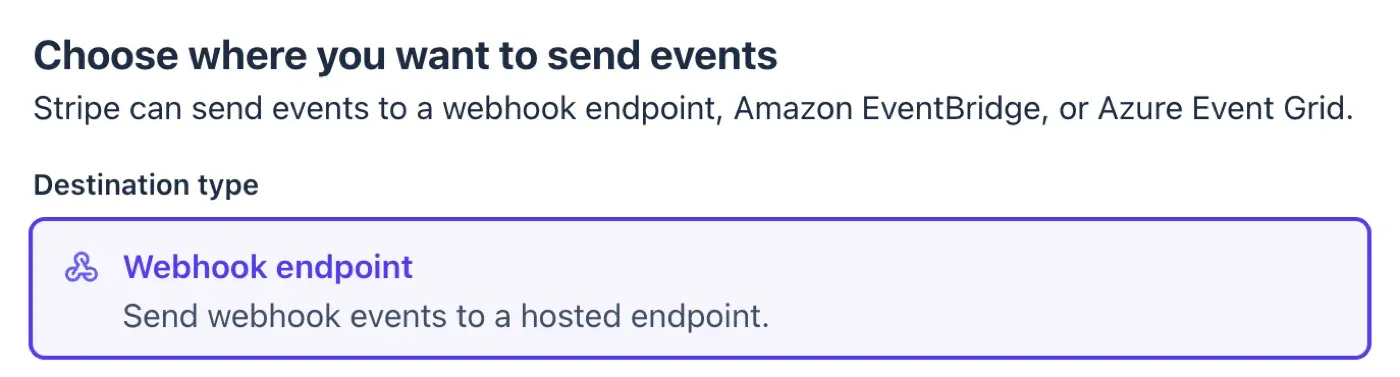
For the destination type, choose Webhook endpoint.
Paste your Pay2Book Webhook URL as the Endpoint URL, then Create destination.
-
Open the new destination and copy its signing secret (it starts with
whsec_).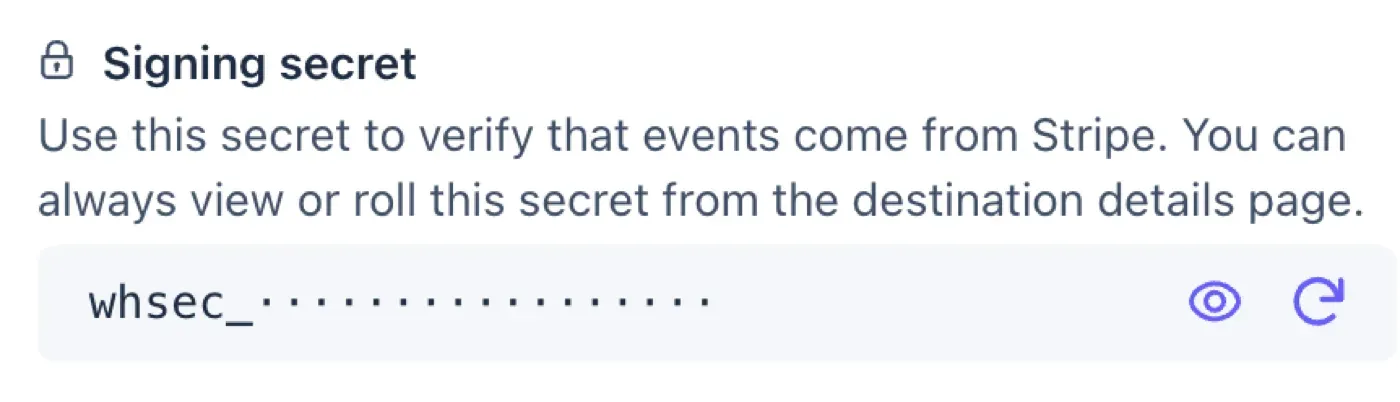
-
Back in Pay2Book’s Settings → Stripe, paste it into Webhook signing secret and save.
3. Test the webhook
Section titled “3. Test the webhook”Once the webhook secret is saved, select Verify Webhook in Settings → Stripe. It confirms the endpoint is registered at your webhook URL with the right events - without taking a real payment.
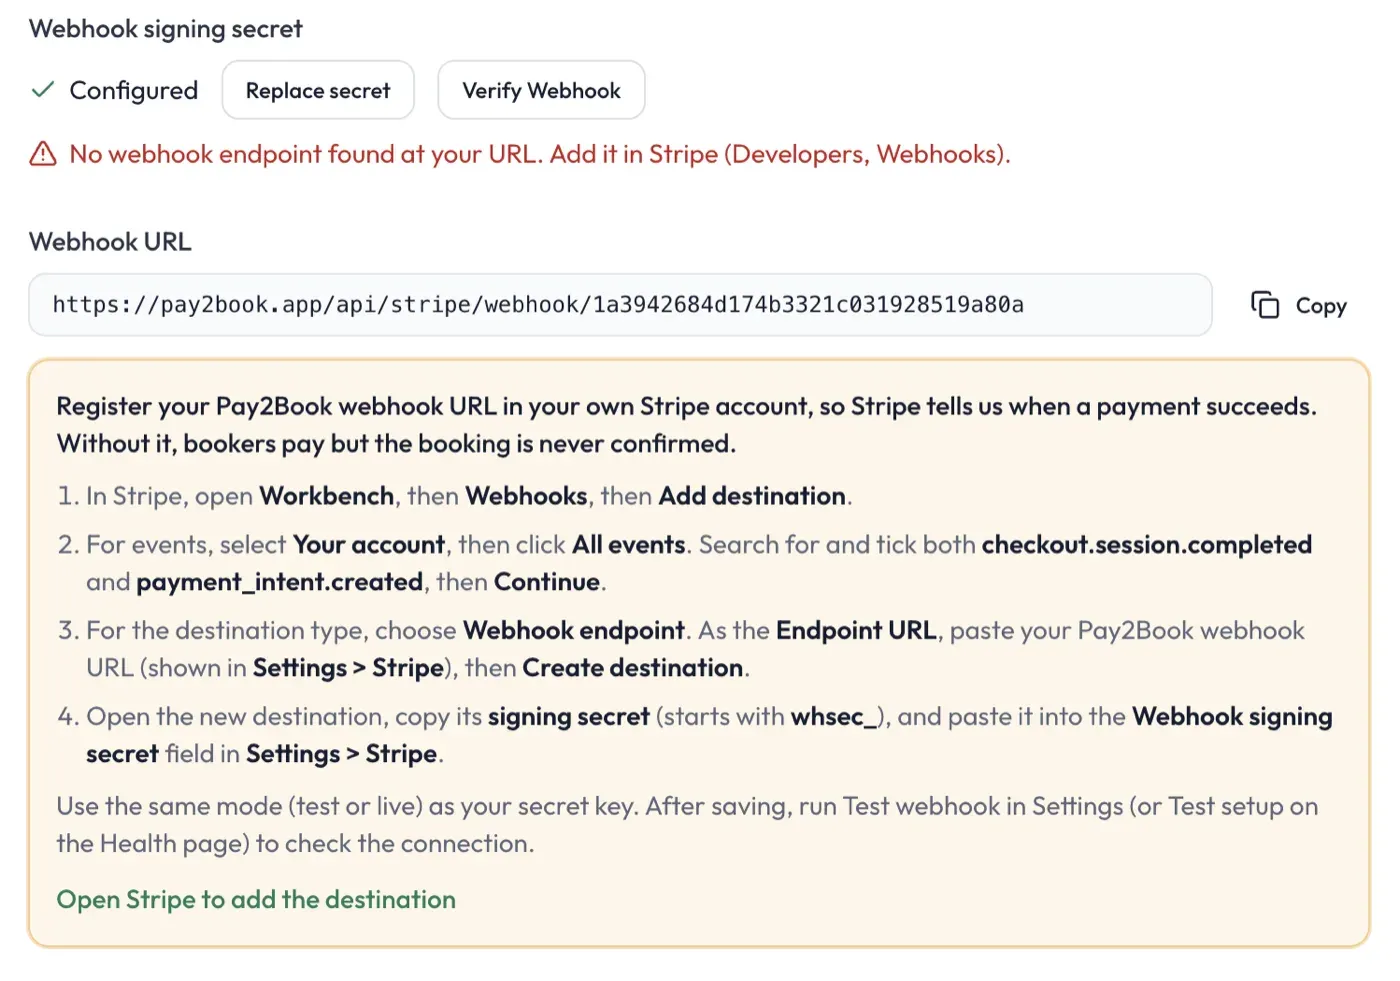
If it reports no endpoint or the wrong events, follow the on-screen steps to add your Pay2Book webhook URL in Stripe, then verify again. The most common issues are using the wrong Stripe mode (test vs live) or missing one of the required events.